What you need for stretching:
● Staple gun and plenty of staples
● Fabric scissors and a hammer (better rubber headed)
● Wooden stretcher bars (order from mypaintlab or locally)
● Canvas pliers (optional, available at most arts and crafts stores) (or a friend)
● You will also need a flat, clean surface to work on.
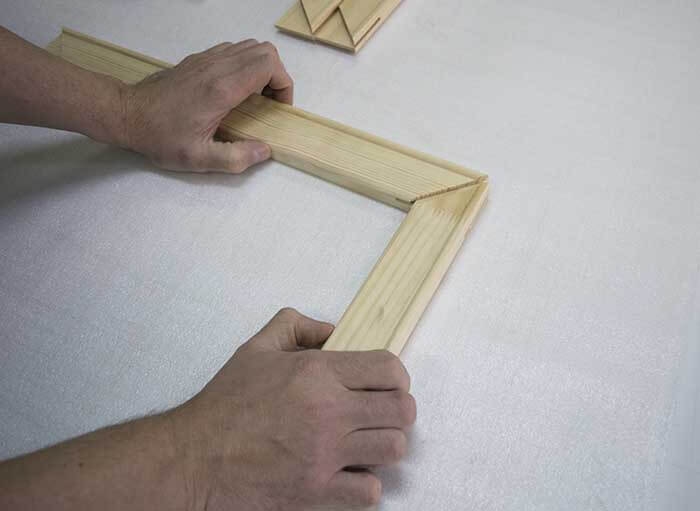
1. The first step is to join the stretcher bars. Lay them out on a flat surface, and push the corners together by hand. If necessary, tap the corners gently with a rubber hammer. Check that they form a right angle with something that is fairly accurate, such as a book.
2. Staple the four corners of the stretcher bars together forming a rectangular frame.
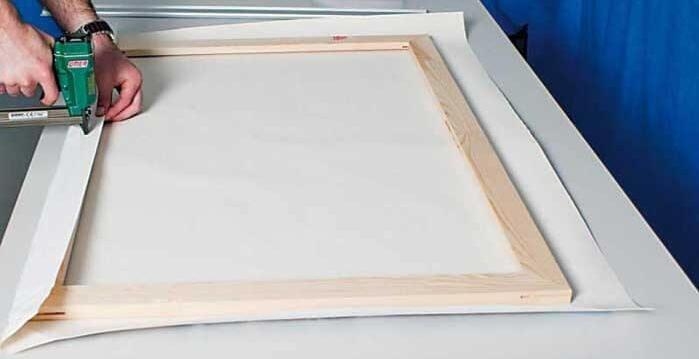
3. Roll out your canvas, put the formed stretcher bars on top of it, and wrap it around the bars. The canvas should fold over the outside edges of the wooden bars.
4. Starting in the center on any side, staple the canvas to the back of the stretcher. Put in about three staples, approximately two inches apart. With your first few canvases, you’ll probably put in more staples than you need; practice will give you a feel for this.
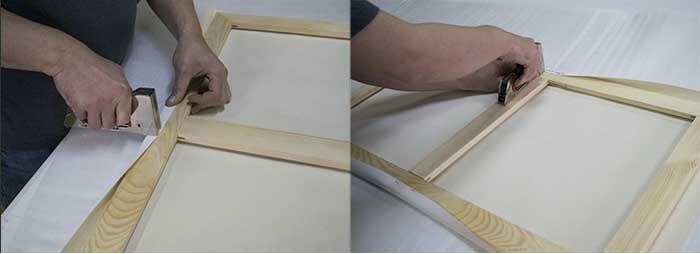
5. Move to the opposite side, while pulling the canvas tightly with the clamp, and staple the middle in place. Repeat with the other two edges.
6. At the corners of the canvas you need to fold the canvas over creating a nice corner and stapling it in place.
If you feel that the canvas was not stretched properly, don’t try and fix it. Our advice to you is to take all the staples out and just start over again.

